How to download and display an image
Transcript
Hey I’m Travis with Team Vuo. In this tutorial we’re going to walk through how to get an image from the web and display it upon a window in Vuo.
To build this composition, let’s start by getting an image. We’ll go to the node library and type in “image.” Now, all the nodes listed in the library are directly related to using an image in a composition. If we scroll down, here’s a node called “Get Image.” If we hover the mouse over the node name, our tooltip pops up and says: “Retrieves the image from a specified URL.” Excellent. We’ll drag and drop Get Image onto the canvas here.
The way the Get Image node functions is, we paste an image URL into the “Get Image” port here. “URL” stands for “uniform resource locator,” all that is, is the web address for a specific image. Then, when it receives an event into its refresh port here, the node will access the web, retrieve the specified image, and output it from its “image” port here.
Let’s go to Vuo.org and pick out an image. Websites are often full of different images. For example, this symbol here (“Vuo is Versatile” symbol) is an independent image. The Vuo logo is also an image. Let’s use the logo for our composition. I’m using the Firefox web browser right now. To get the URL for an image using Firefox, we right click the image, and select “Copy image location.” If you’re using a different browser, it may say something slightly different, and this is the general message we’re going for. So we’ll select Copy image location.
Next, we’ll go back to our composition, double click the “imageURL,” (port) right click in the text box and paste into here. Now, if we glance at the URL, it will tell us a little bit more about our image. On the left it reveals that it’s from Vuo.org, in the middle is gives us a couple descriptions about its location on the website and its function, then it concludes with the image filename, logo.png.
Now that we have our image on the canvas; next we need to find a way to get the image to show up on a window. If we go back to the node library, here’s all our choices for nodes related to working with images. If we scroll down, we see “Render image to Window.” If we hover over it, our tool tip says: “Creates a window and displays an image on it.” That’s what we’re going for. Let’s drag and drop that here.
Render Image to Window is straightforward. First it creates a blank window, then, when it receives an event plus an image through its inputs, it renders (or displays) the image upon its window. So lets drag a cable coming from the “image” output port of Get Image, and link it to the “image” input port of Render Image to Window.
Now, on the canvas, we have our image, and we have our window. We’re almost there. Lastly, we need to originate an event, which will tell these nodes when it’s time to perform their function. So we’ll go to the node library and type in “start”. Here we see “Fire on Start.” We’ll hover over it and it says: “Generates an event when the composition starts.” That’s what we need. Let’s drag and drop that here.
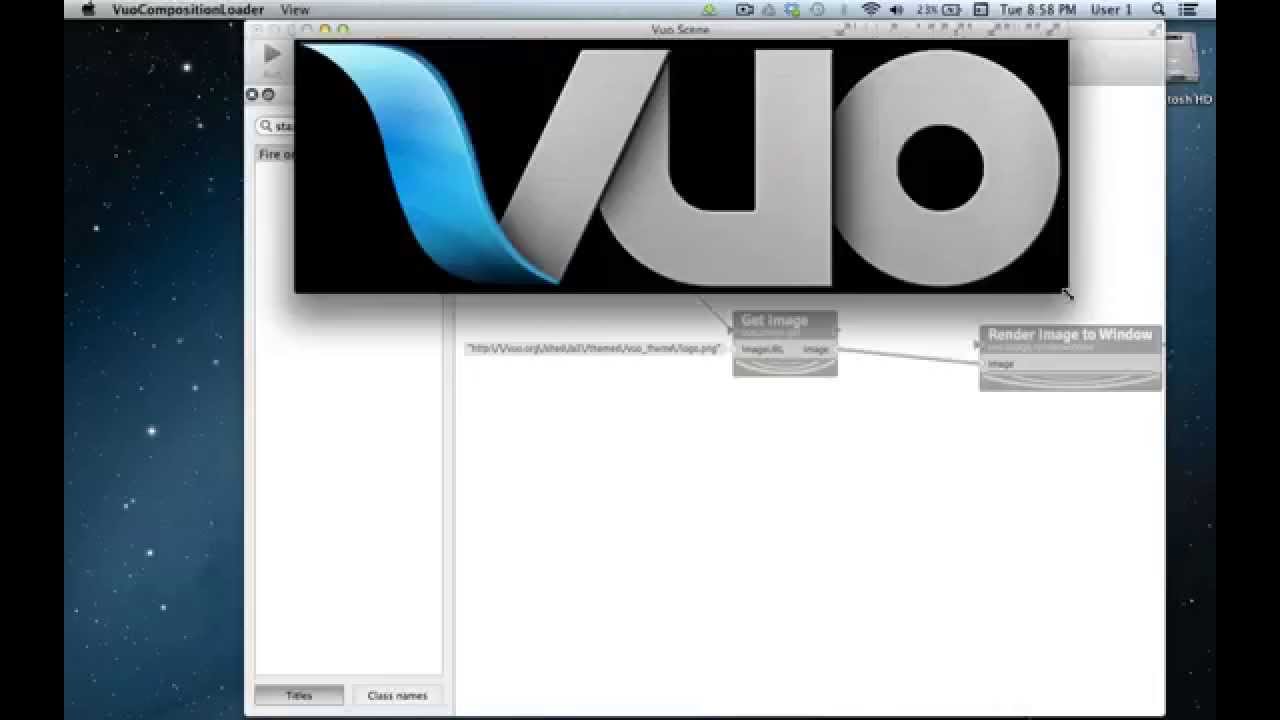
Next, let’s drag a cable from the “started” port of Fire on Start and drop it into the refresh port of Get image. Great. This is our composition in complete form.
Let’s do a quick walk-through of how this composition will flow.
When we start the composition, when we click “Run,” Fire on start will generate an event and send it out from the “started” port, here. That event will travel to the refresh port of Get Image. When Get Image receives the event, it will use the URL we pasted into its input port, access the web, and retrieve a fresh version of that image.
Next, that original event from Fire on Start, plus the new data of the logo image, are going to travel out of Get Image’s “image” output port here, and enter into the “image” input port of Render Image to Window, here. Render Image to Window will create a window, and display the inputted image upon it.
As a quick refresher, you’ll notice that the cable between Fire on Start and Get Image is thin, because it’s an event-only cable. In this scenario, only an event will be flowing from Fire on Start to Get image. But between Get Image and Render Image to a window, the cable is significantly thicker because it’s a data+event cable. The original event from Fire on Start, plus the data of the image is traveling through it. Small cables equal event only, big cables equal data+event.
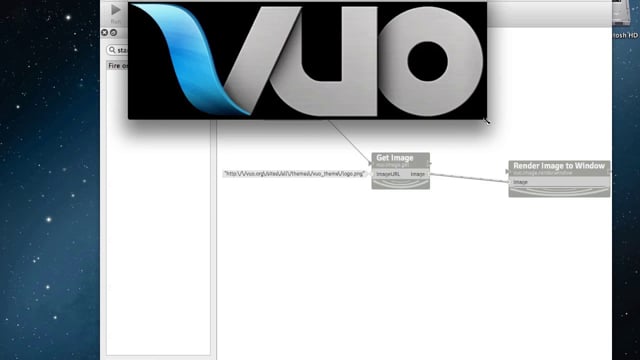
OK. Let’s run this and see what happens. There’s our image. Beautiful! One handy thing about the Render Image to Window node is that it automatically re-sizes the window to match the aspect ratio of the image you’ve inputted. So however big or small you make it, the image keeps its proportions, and doesn’t get stretched.
Alright, that’s all there is to it. If you’d like to learn more about Vuo development or our plans for Vuo, you can check out vuo.org. And we hope that you’ll consider becoming part of the Vuo community, and supporting Vuo by purchasing a subscription. Thanks so much for checking out Vuo, and we look forward to seeing what you create.

