An introduction to the Vuo editor
Transcript
-
When you open up the Vuo, the “Welcome to Vuo” window pops up. Now, when I normally open up a new application, my first instinct is close windows like these and get on with my exploring.
-
Before doing something like that, please note that your three most valuable resources for exploring and learning are right here. In the top right, one of our newest built-in example compositions will be selected at random and appear here to offer some inspiration and perhaps some new learning.
-
The video tutorials page will take you right to a growing library of videos and walk you through different ways of creating in Vuo. And the user manual defines how every part and piece in Vuo works.
-
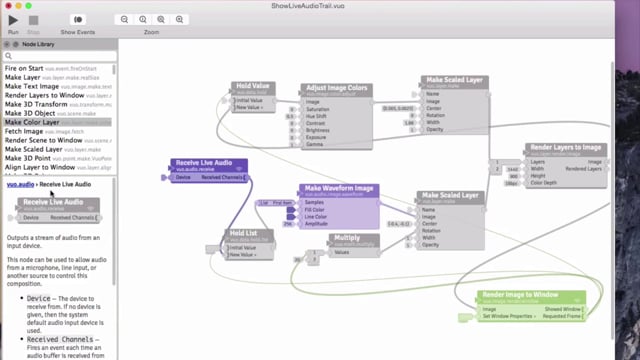
Let’s take a look at the Vuo editor by trying out the proposed example composition. OK. This window as a whole is the Vuo editor. It’s our platform for creating. These building blocks are called nodes. Nodes are our tools for creating; each one performs its own specific function. And these node are arranged and linked together in such a way to create a live audio trail, which we’ll take a look at shortly.
-
The greater area that all these nodes are arranged upon are is called the canvas. At the top of the editor there’s a set of zoom tools. The far left button with a minus symbol zooms out, the far right button with a plus symbol zooms in, middle left symbol with the number 1 in it always zooms to 100% zoom, and the middle right button with the equal symbol in it will always make the entire composition equal to the size of the canvas.
-
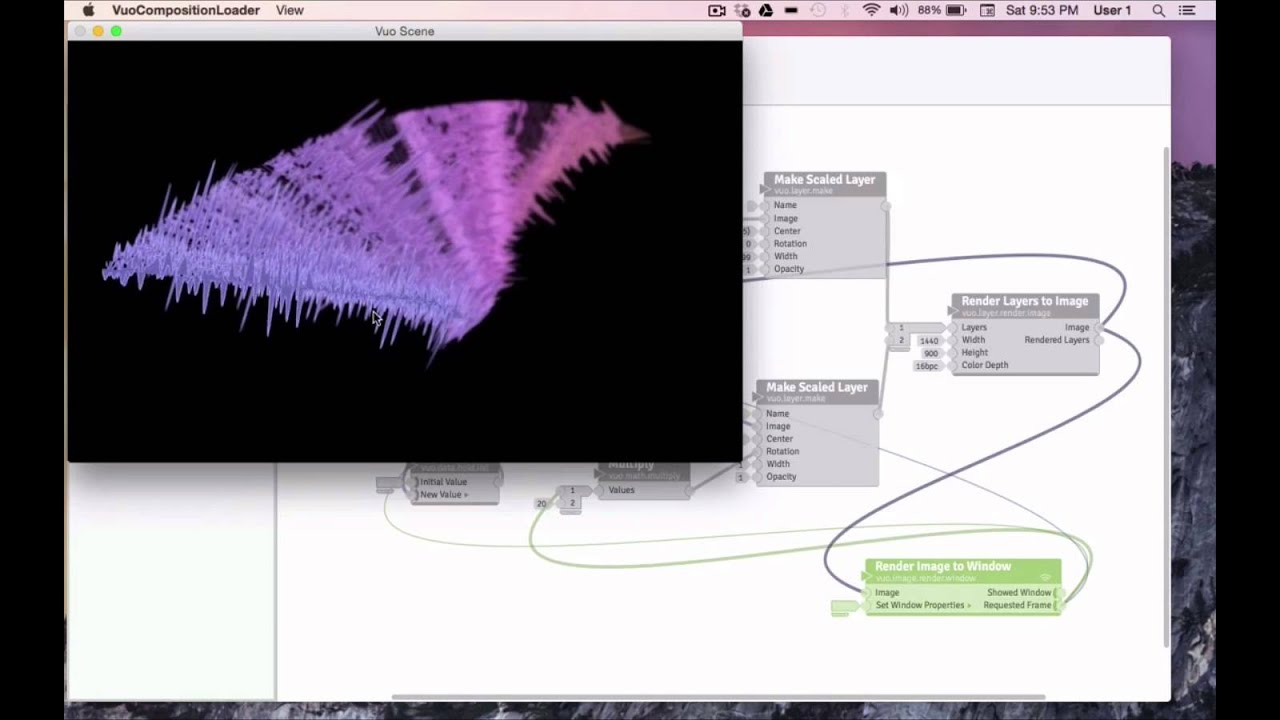
Over here we have the run button, which sets our composition in motion. Let’s try it. Right now the composition is running, and this arrangement of nodes is actively working to produce the animation you see here. The spiraling audio wave is responding to my voice, in real time. Cool!
-
And the stop button stops the nodes from functioning. We’ll come back to the “Show Events” button in a later tutorial. Let’s stop this example and look at one more major component of the editor — the node library.
-
The node library houses all of our available nodes and all kinds of information to help us design and build stuff. The library starts off docked within the editor. We can double click the top bar to detach it, and double click it again to doc it. We can put nodes on the canvas by dragging and dropping, double clicking, or selecting and pressing enter.
-
When a node is selected with a single click either on the canvas or the node library, documentation shows up in the node documentation panel below. This documentation is a huge help when you’re learning Vuo, or even if you’ve been at it a while. For each node, there is a general note for how the node works, specific information about each port, and a list of example compositions that show this node in action.
-
Each node falls under a specific category. For example: The “Multiply” node falls under the category of working with math, and the “Receive Live Audio” node falls under the category of woking with audio. For each node, there is a link to information about that category.
-
I’ll click on the link for Vuo Audio and we’ll get an explanation of what Audio nodes are for, how input, output, channels, and samples work, and there’s a complete list of all the built-in example compositions designed specifically to help you learn how to work with audio in Vuo. Here’s the “Show Live Audio” composition we’re working with now. There’s also the complete list of Vuo nodes that fall under the Audio category.
-
All right. That’s a quick introduction to the editor itself. To learn more, check out our next tutorial where we’ll take an in-depth look at how a simple composition works.

